http://www.smartauto24.com/docs/installation_guide/I7105LC.pdf
Hierbij ook met vertaling uit het Chinees naar Engels
ok here it goes:
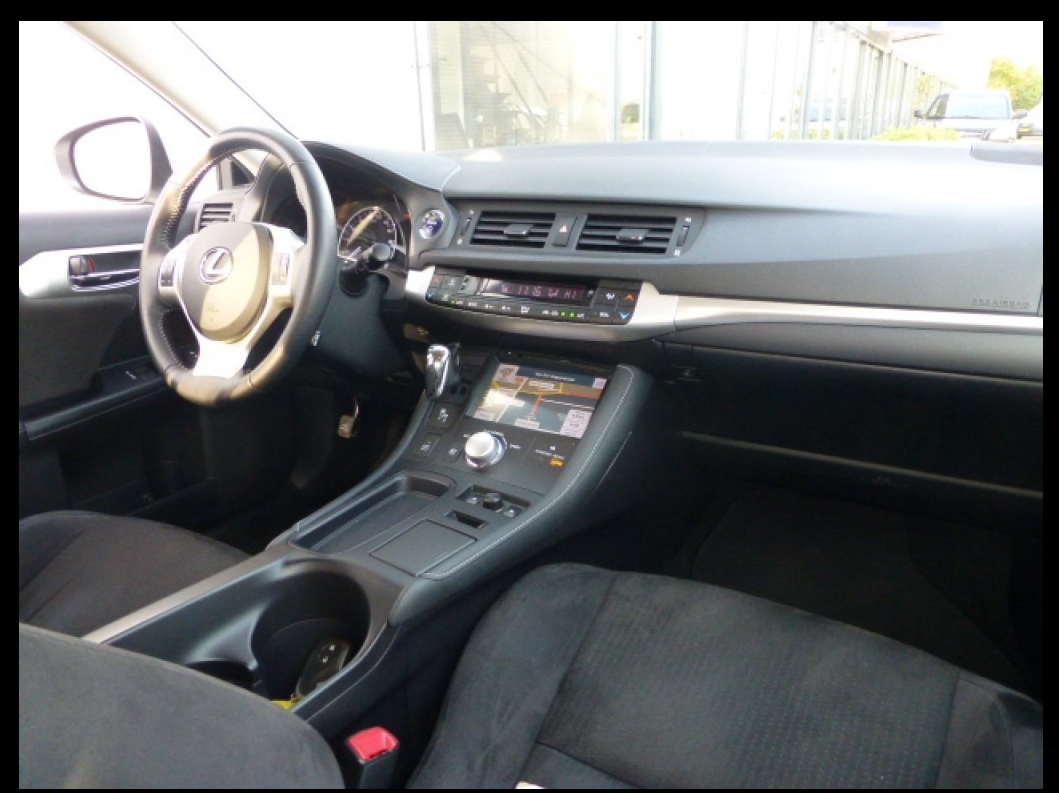
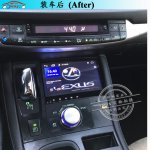
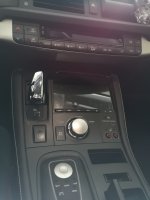
1. OEM audio unit
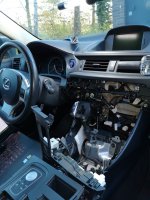
2. using a pry tool, take off the small black panel to the right (above glove compartment)
3. using a pry tool, take off the small black panel below the A/C control unit
4. pull out A/C control unit
5. unplug all wiring thats on the back of the A/C control unit, and remove the A/C control unit
6. remove both side panels on the armest
7. using a pry tool, carefully remove the cup holder cover panel
8. unplug all wiring thats on the back of the cup holder cover panel
9. carefully remove deck cover board
10. unplug all wiring thats on the back of the deck cover board
11. remove the 4 screws/bolts thats attached to the OEM audio unit as shown in photo
12. carefully pull out the OEM audio unit and unplug all wiring that's at the back
13. remove the braces that's on the OEM audio unit, and attach it to the "new" one
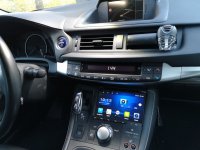
14. UNSURE hook up the wires that came with the "new" audio unit as shown in photo
15. attach the "new" power wire adapter to the car's original power wire. attach one end of the "new" USB cable to the car's original USB cable, and the other end of this "new" USB cable, attach it to one end of another "dual USB cable". for the other end of the "dual USB cable" wire it into the glove compartment
16. remove the little coin holder that is above the cell phone holder slot, and replace it with the button switches
17. attach the wires to the back of the "new" audio unit
18. insert the "new" audio unit in place and secure the screws/bolts
19. reattach the wires on the deck board and put it back
20. reattach the wires on the cup holder cover panel, this includes the wiring on the "new" button controls you installed on the coin holder slot, as well as any original wiring
21. put back the cup holder panel
22. put back the side armrest panels
23. reattach the wires on the A/C control unit and put it back
24. reattach the small black panel underneath the A/C control unit
25. reattach the small black panel above glove compartment
26. installation complete
to update map at the later time:
1. remove the side armrest panel to the right of the audio unit
2. remove microSD that has the map data in it
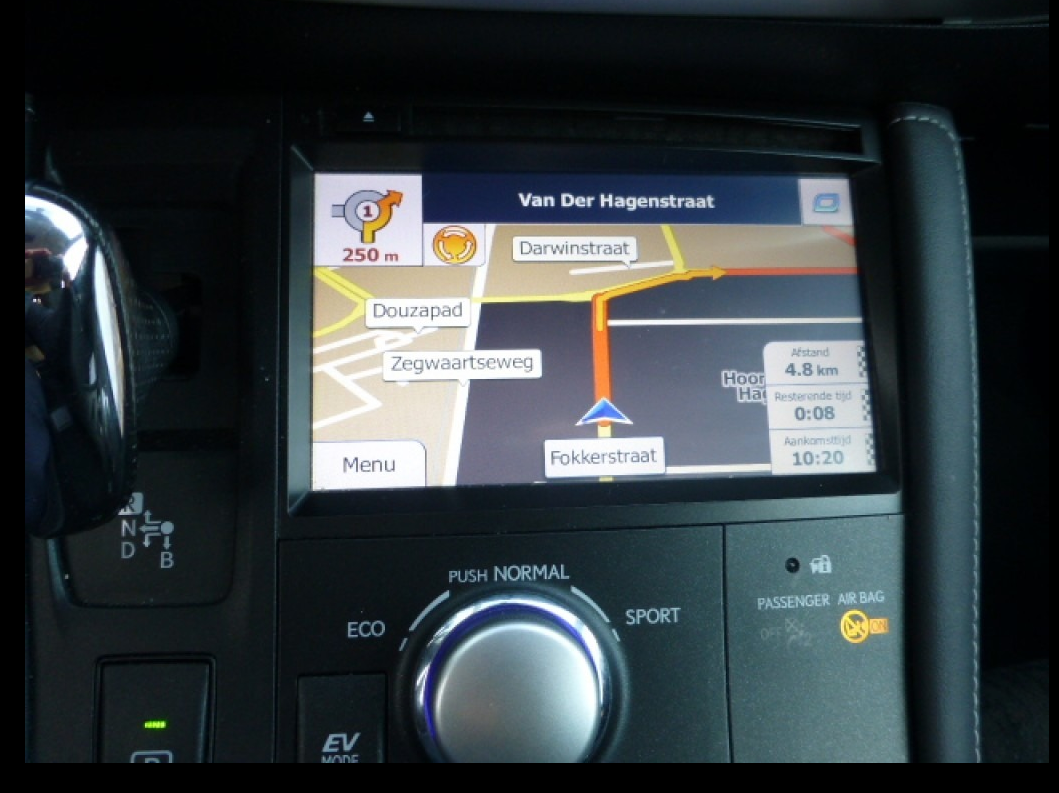
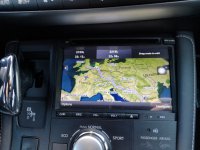
installing GPS antenna
- GPS antenna can be installed inside the car such as on top of the dash, or outside the car such as the roof
- GPS antenna must have a clear and unobstructed view to the sky. if the car window has some sort of film or tint on it, it may greatly reduce the strength of the GPS signal. in this case you should put the antenna outside the car instead
- caution: do not change the length of the GPS antenna, adjusting the length may short-circuit or malfunction
- caution: GPS antenna should be placed on a flat even surface if possible, for maximum accuracy
- caution: never place the GPS antenna in such a way that will interfere with the steering wheel or shift knob, for safety reasons
reminders:
1. do not use strong chemicals solvents or detergents to clean the machine
2. use a soft dry cloth to clean the screen. do not use tissues or paper towels
3. please use the touchscreen with a stylus, do not use sharp objects as it may scratch of damage the screen
4. please do not install or maintain the unit by yourself. when installing please turn off all power and unplug the car battery. it is very dangerous to have this installed by a non-professional
5. before installation, please ensure all audio functions and speakers are functioning properly
6. when removing components, be sure to protect the dashboard. removed parts should be stored properly, and use the OEM screws/bolts to secure the "new" audio unit. "dual usb wire" can be lead to the glove compartment
7. GPS and backup camera are only for assisting purposes only. driver is responsible for being concentrated on the road
8. this manual only covers the installation of the "new" audio unit. for installation of GPS antenna, backup camera and digital TV, you are on your own
9. when installing digital TV, connect TV-CONT wiring
10. when installing the external microphone, you can put it on the driver's sun visor
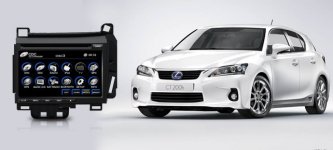
11. this product is compatible with the following cars: lexus 2012 CT200h different trims
")