- 4 jul 2011
- 768
- 0
- 0
Toyota and Lexus the Charcoal Canister tutorial:
This is a Do It Yourself maintanence job for the EVAP system on your V8.
Save 350 euros + de- and installations costs for a new charcoalcanister and the enviremont, this is a safe and simple job.
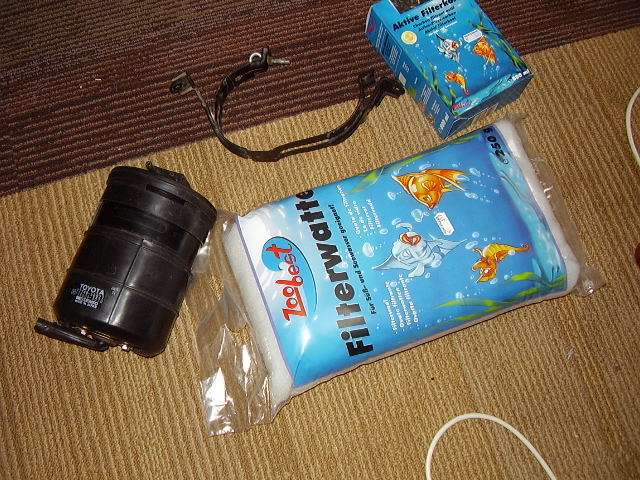
It took me a couple of hours but if i were you i would take all day and check the other components wich are located there aswell. ( after i saw the rust at the bottom it took me a lot more hours to get that rust painted.) So off i went to the petstore:
When the charcoal canister is cloaked and soaked with dirth, gasoline or rust particals the EVAP is disturbed wich leads to rough iddle or even worse an overflaoting tank. Mostly it is the valve creating problems, it could be electric or in my case no electrical parts just a stupid valve. This valve should open eand close at a certain pressure ( i do not know how much) there is also a filter to and 2 screens to keep everything at its place. Whenever you can smell fuel vapor it is time to get to the Charcoalcanister from now on named the CCC. When ever you have iddle problems it is time to check the EVAP.
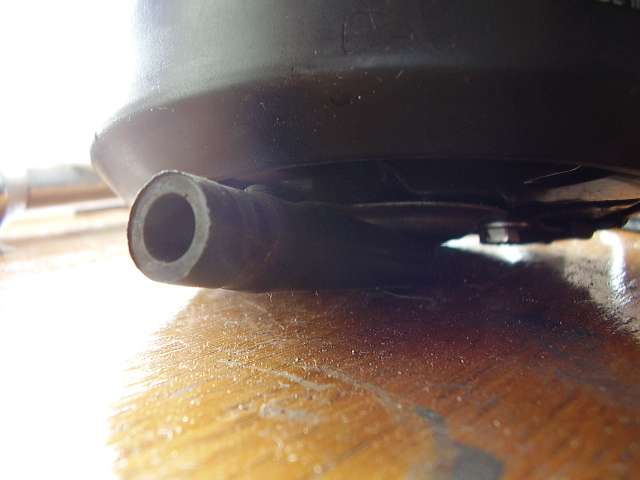
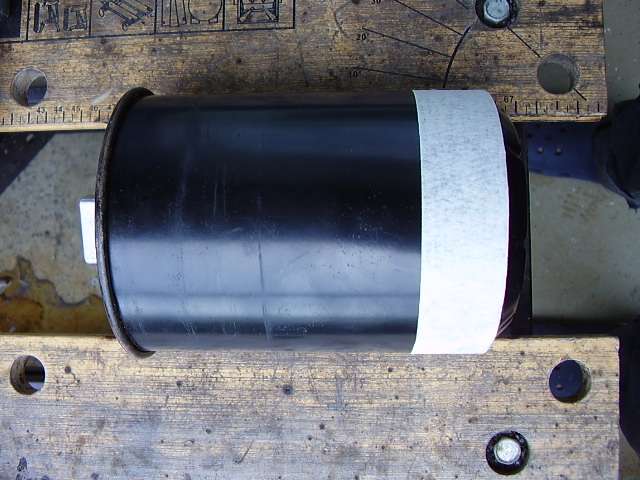
this is the top lit made of plastic wich you can remove.
For the Lexus LS400 generation 1 this CCC is located underneath the left frontfender in front of the wheel.
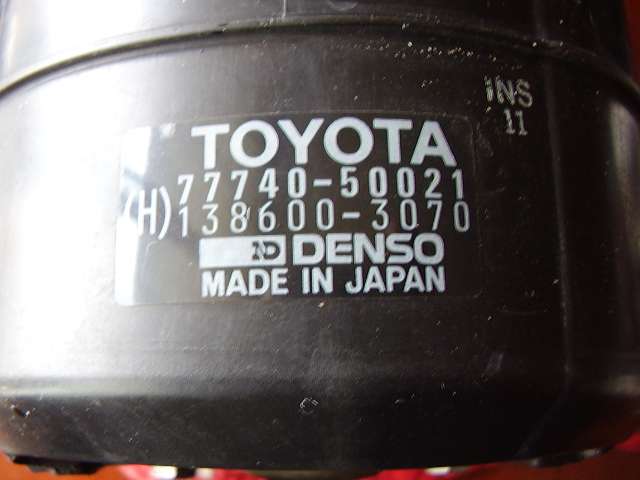
It is an Toyota oempart as you can see.
- remove the left front wheel
- make it safe put something underneath your chassis or lose a limp.
- remove the thin trim line
- remove the plastic rain and dirth fender with al lot of bolts
- when the fender is removed the CCC is clearly visible and reachable.
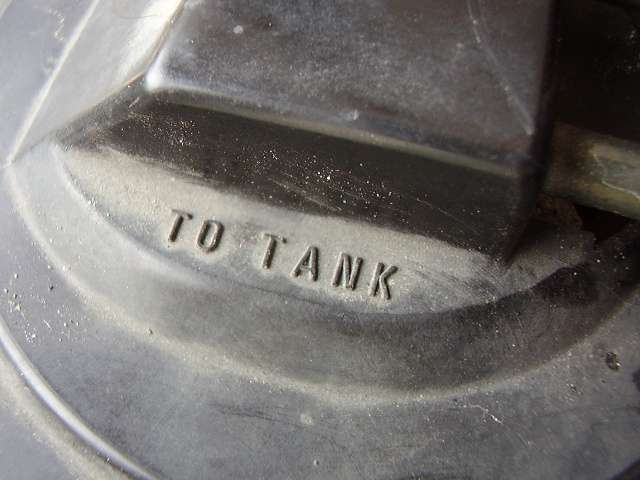
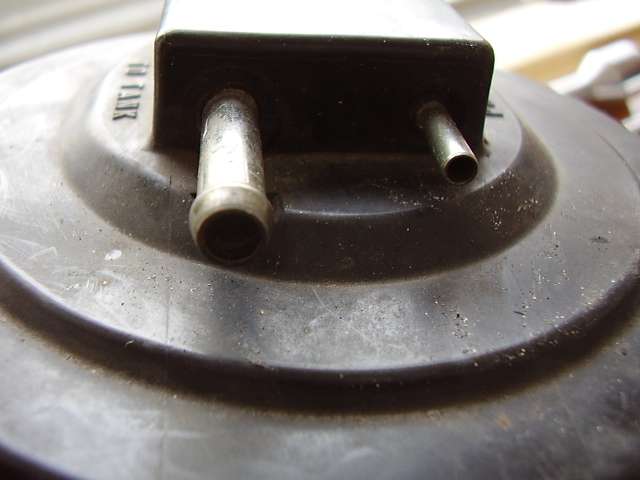
- dismount purge and tank and bottem exit hoses ( 3 pieces)
-dismount the filter and bracket
- remove the plastic around the metal house.
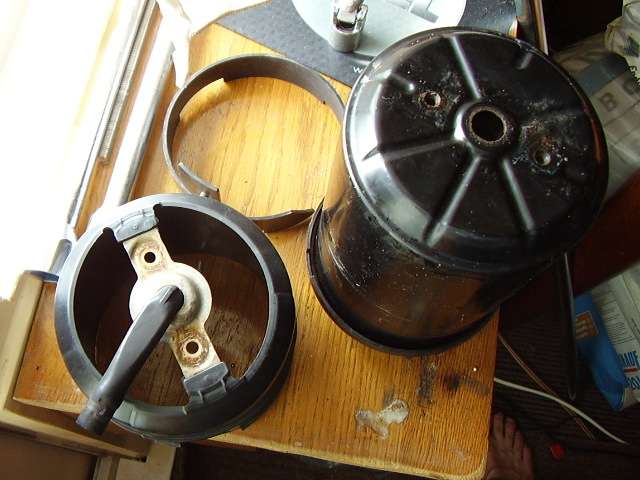
We can see the plastic covers now seperated from the metal housing.
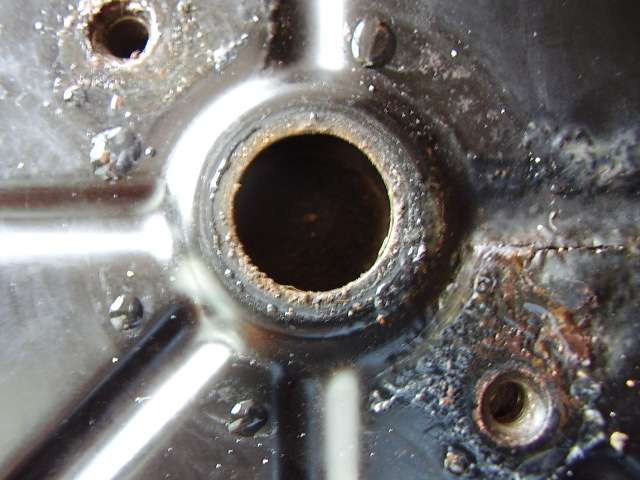
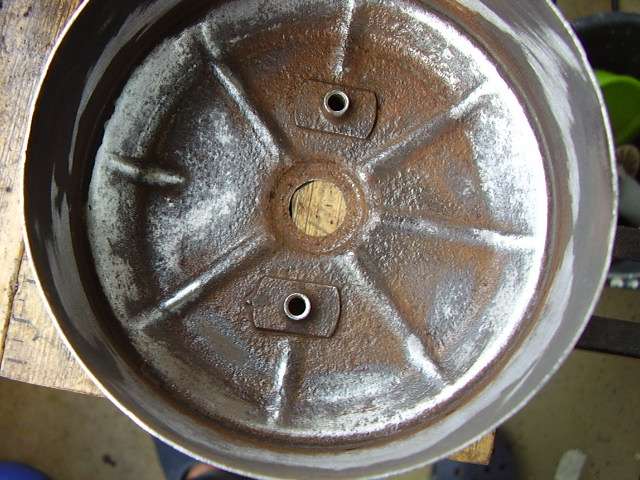
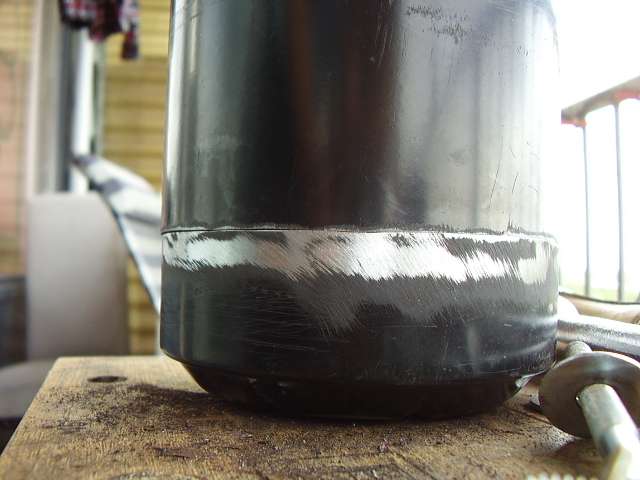
The bottom is a bit rusty and i need to take care of that
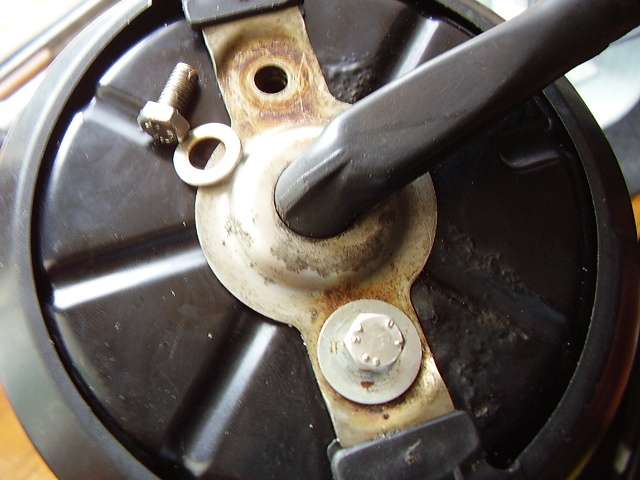
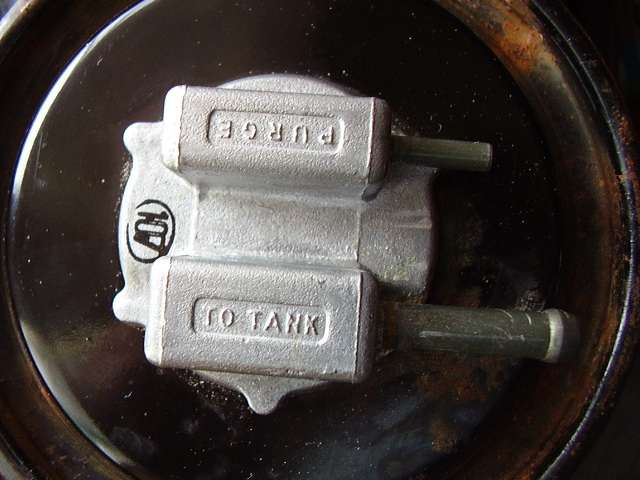
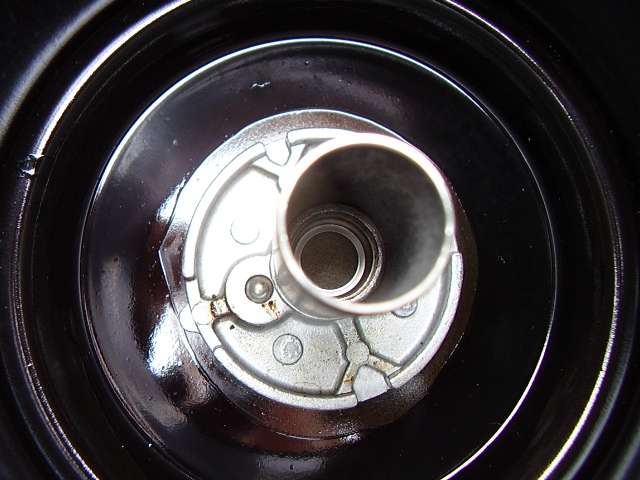
The valve finally clearly visible, it is a closed system i can't ( or i don not know ) how to get the valve out.
tools and supplies needed from now one:
- new charcoal from the petstore ( 10$)
- new filtermaterial form the petstore ( 5 $)
- new bolts m6 for bottomplate
- metal grinder as thin as possible ( to cut the metal housing)
- ear protection
- eye protection
- gloves
- bucket
- masking tape
- DIY spirit.
the tool i use to make the cut:

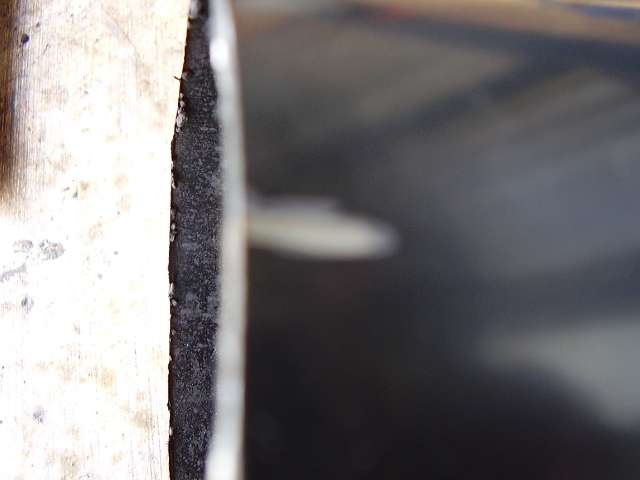
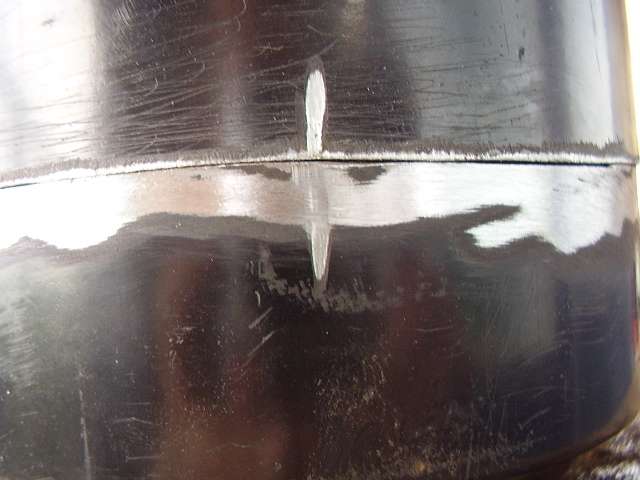
Once the housing is cut open in 2 exact the same lines ( that is why i used mask tape and marked the cut with a + so ik know how to glue it perfect and tight. Now it is time to clean everything and most important for my CCC is to check the purge valve.
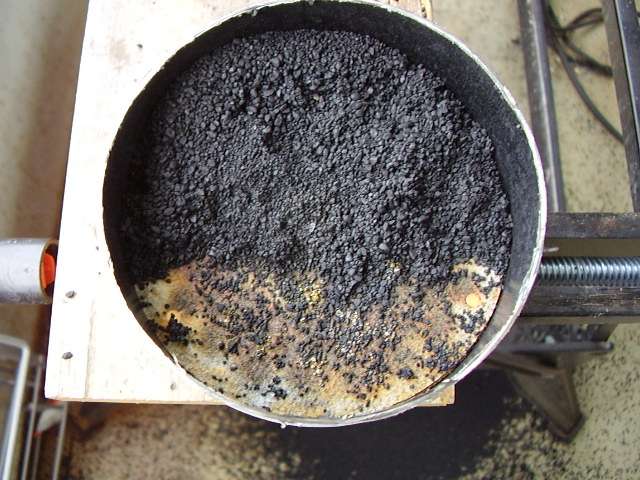
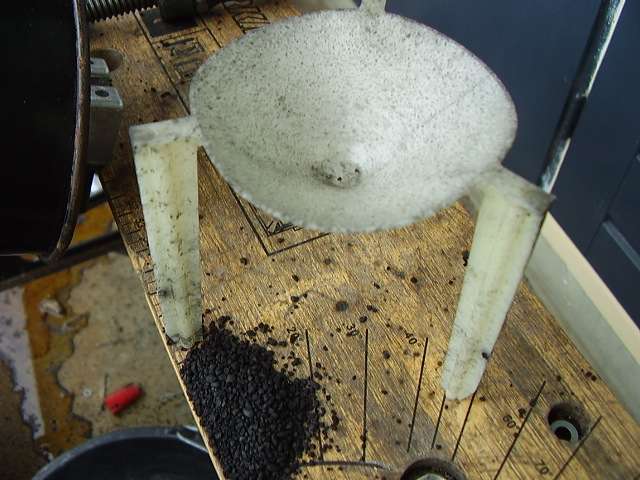
Make sure you put a bucket underneath the CCC it will poor out and is quite smelly and vapors will be released no fire ! Some people bake the coal just burn it to get rid of the vapor and reuse it.
In my CCC there is now way to remove the valve, it is made forever so the only thing i can do is blow air through the valve and use some kind of material to pass through the valves in and outlets. As the tank builds up a vacuum it could implode this is why your cap and it's gasket are imoportant to check aswell. Whenever i fill my tank up and i open the cap i hear and feel the vacume pressure and it should alert you that something is wrong, wich leads to the purge inlet.
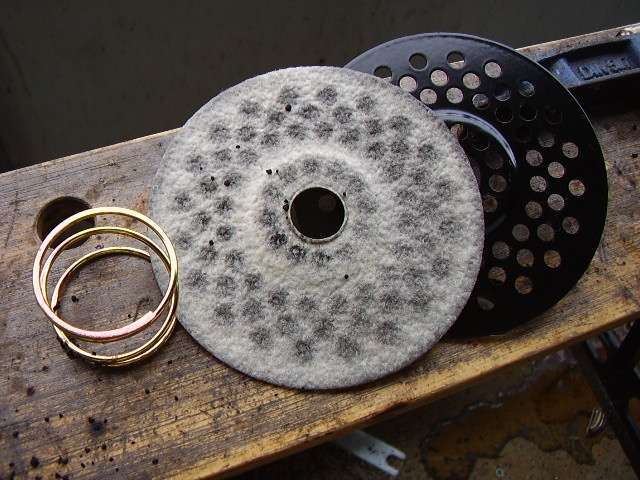
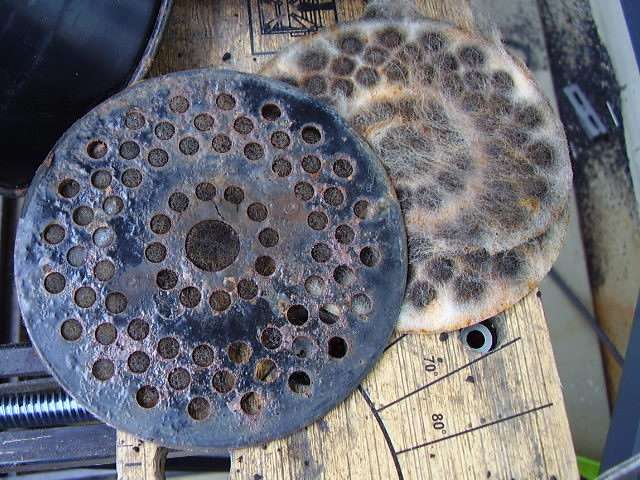
The bottom filter and pan i am not happy with the rust it should be rust and dirt free so i get on with it.

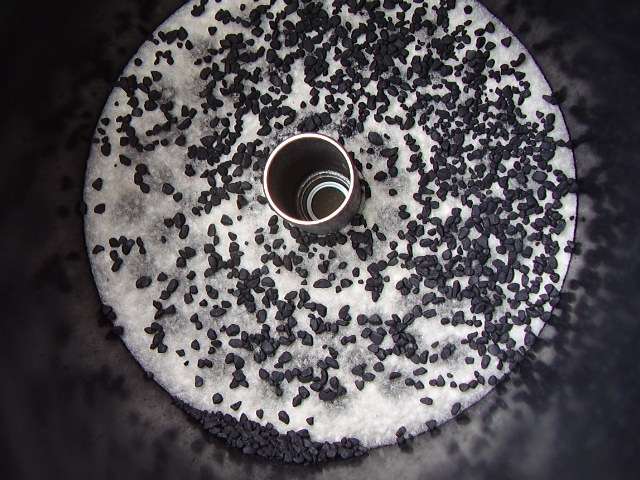
Inside the CCC let us have a closer look:
Once everything is cleared and aproved by yourself do not trust anyone on this job, it is time to fill the CCC and make it airtight.
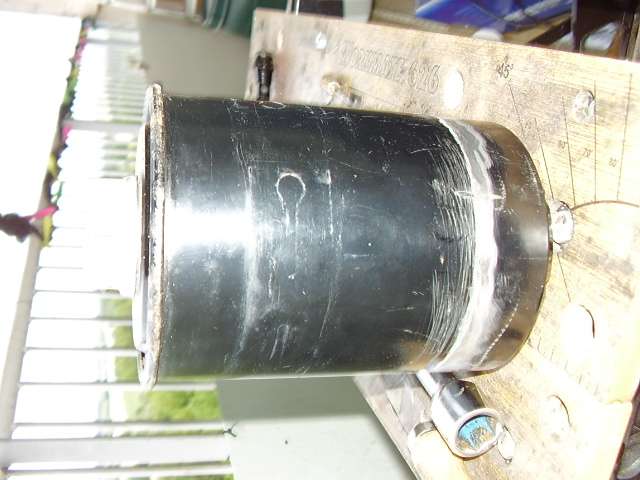
I used polyester ( epoxy in english) it is strong and it glues good. You can choose any way you wish if i had some welding experience i would weld it. ( to be honset, the paint is drying now and i will have to close tommorrow.)
When the two halves are together it is time to reinstall the reverse way you took it off.
Do not forget to check the EVAP hoses for small leakages, old hoses should be replaced because after 21 years not 1 hose will make that air tight perfect vacume.
Enjoy your LS400 for antoher 100.000 km without any fuel vapors or overfloating tanks at the fill station.
greetings from Lexter
This is a Do It Yourself maintanence job for the EVAP system on your V8.
Save 350 euros + de- and installations costs for a new charcoalcanister and the enviremont, this is a safe and simple job.
It took me a couple of hours but if i were you i would take all day and check the other components wich are located there aswell. ( after i saw the rust at the bottom it took me a lot more hours to get that rust painted.) So off i went to the petstore:
When the charcoal canister is cloaked and soaked with dirth, gasoline or rust particals the EVAP is disturbed wich leads to rough iddle or even worse an overflaoting tank. Mostly it is the valve creating problems, it could be electric or in my case no electrical parts just a stupid valve. This valve should open eand close at a certain pressure ( i do not know how much) there is also a filter to and 2 screens to keep everything at its place. Whenever you can smell fuel vapor it is time to get to the Charcoalcanister from now on named the CCC. When ever you have iddle problems it is time to check the EVAP.
this is the top lit made of plastic wich you can remove.
For the Lexus LS400 generation 1 this CCC is located underneath the left frontfender in front of the wheel.
It is an Toyota oempart as you can see.
- remove the left front wheel
- make it safe put something underneath your chassis or lose a limp.
- remove the thin trim line
- remove the plastic rain and dirth fender with al lot of bolts
- when the fender is removed the CCC is clearly visible and reachable.
- dismount purge and tank and bottem exit hoses ( 3 pieces)
-dismount the filter and bracket
- remove the plastic around the metal house.
We can see the plastic covers now seperated from the metal housing.
The bottom is a bit rusty and i need to take care of that
The valve finally clearly visible, it is a closed system i can't ( or i don not know ) how to get the valve out.
tools and supplies needed from now one:
- new charcoal from the petstore ( 10$)
- new filtermaterial form the petstore ( 5 $)
- new bolts m6 for bottomplate
- metal grinder as thin as possible ( to cut the metal housing)
- ear protection
- eye protection
- gloves
- bucket
- masking tape
- DIY spirit.
the tool i use to make the cut:
Once the housing is cut open in 2 exact the same lines ( that is why i used mask tape and marked the cut with a + so ik know how to glue it perfect and tight. Now it is time to clean everything and most important for my CCC is to check the purge valve.
Make sure you put a bucket underneath the CCC it will poor out and is quite smelly and vapors will be released no fire ! Some people bake the coal just burn it to get rid of the vapor and reuse it.
In my CCC there is now way to remove the valve, it is made forever so the only thing i can do is blow air through the valve and use some kind of material to pass through the valves in and outlets. As the tank builds up a vacuum it could implode this is why your cap and it's gasket are imoportant to check aswell. Whenever i fill my tank up and i open the cap i hear and feel the vacume pressure and it should alert you that something is wrong, wich leads to the purge inlet.
The bottom filter and pan i am not happy with the rust it should be rust and dirt free so i get on with it.
Inside the CCC let us have a closer look:
Once everything is cleared and aproved by yourself do not trust anyone on this job, it is time to fill the CCC and make it airtight.
I used polyester ( epoxy in english) it is strong and it glues good. You can choose any way you wish if i had some welding experience i would weld it. ( to be honset, the paint is drying now and i will have to close tommorrow.)
When the two halves are together it is time to reinstall the reverse way you took it off.
Do not forget to check the EVAP hoses for small leakages, old hoses should be replaced because after 21 years not 1 hose will make that air tight perfect vacume.
Enjoy your LS400 for antoher 100.000 km without any fuel vapors or overfloating tanks at the fill station.
greetings from Lexter